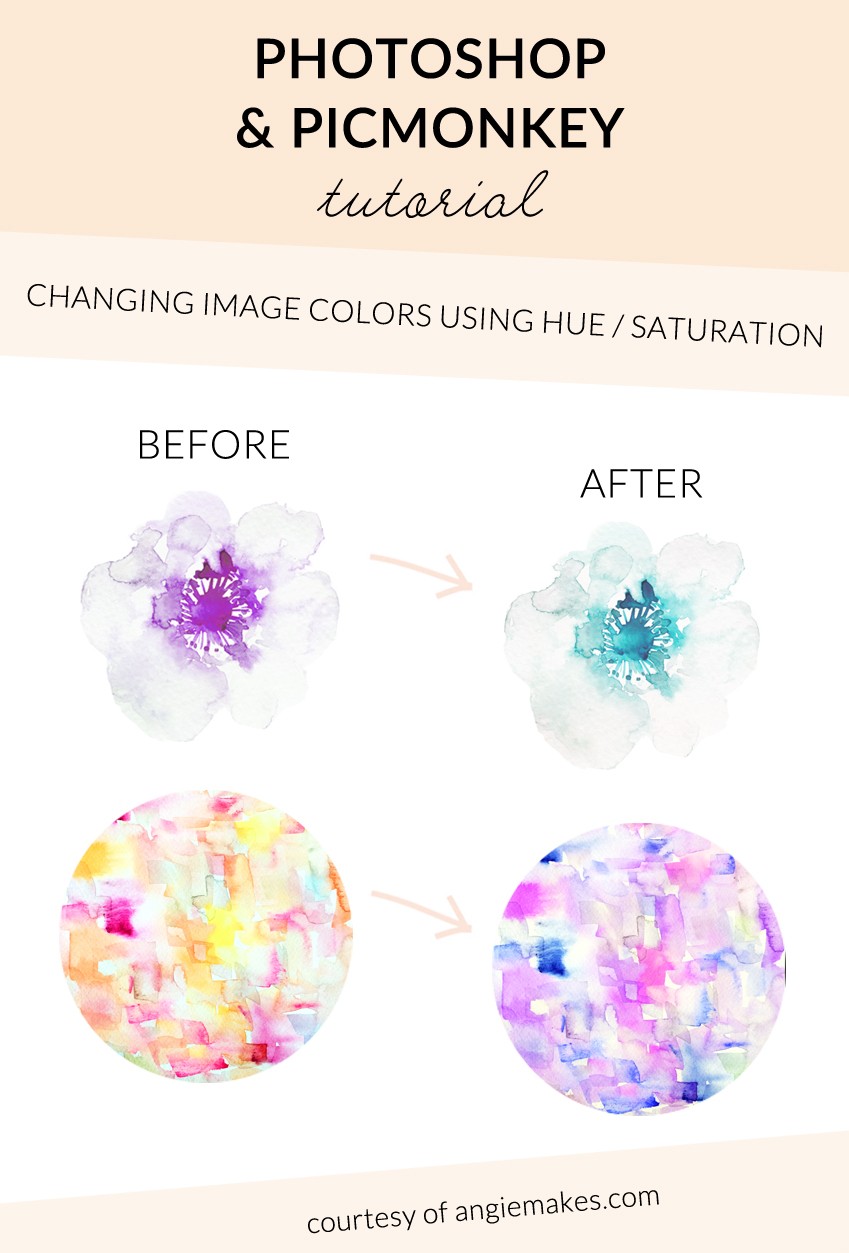
So this may be my absolute favorite way to change the color of images in Photoshop + Picmonkey. I use this for a lot of my artwork, clip art, and image that I use and want to change the colors of when I don’t have the vector file for them. Of course, you have WAY more color control with vector files, but when you’re dealing with hand-painted artwork the vector files are usually non-existent.
So, without further adieu, here is how to change the color of your artwork using the Hue / Saturation method in Photoshop.
1. Open your document. File / Open. I’m going to be updating one of my premade logos.
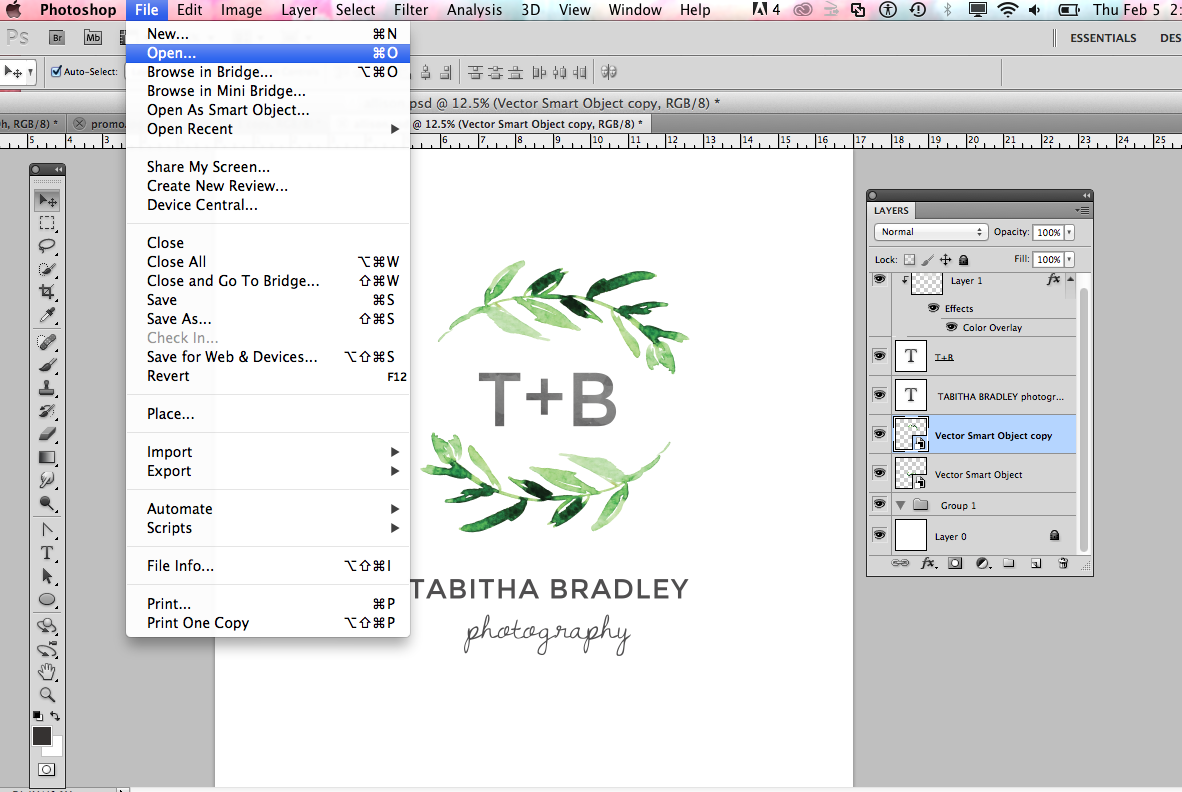
2. Then navigate to the layer you want to change the color of. Highlight that layer.
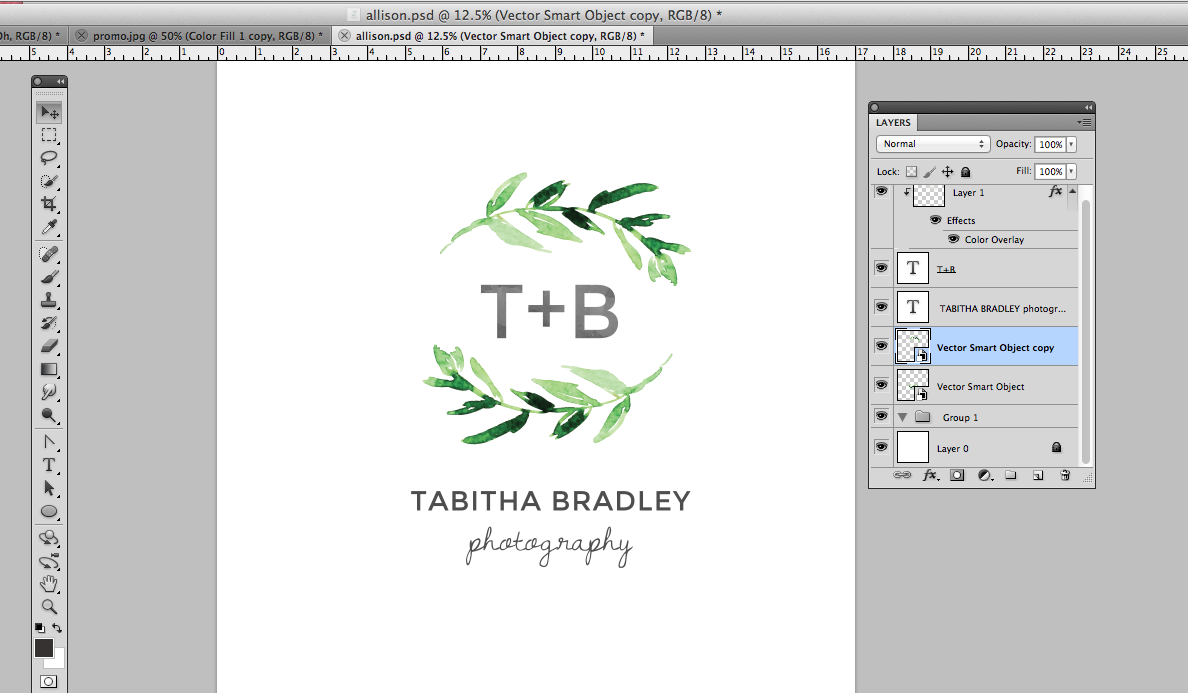
3. In your Layers Panel, click the half black / white circle to see all of your image adjustment options. Choose the Hue /Saturation option.
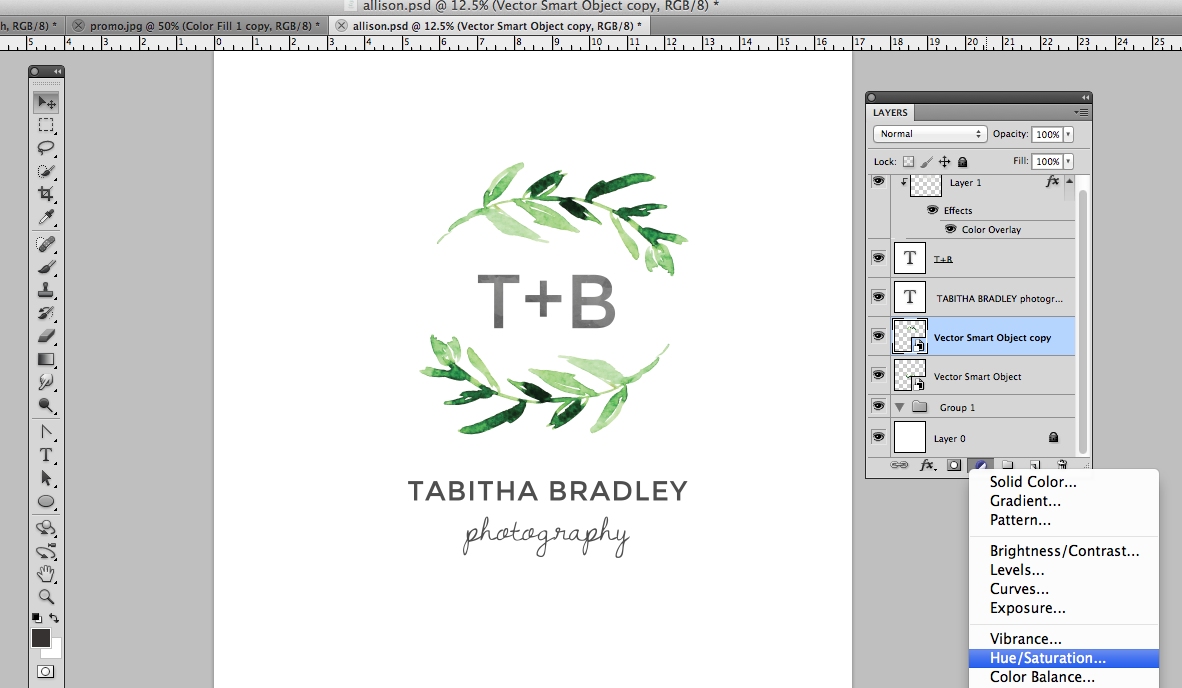
4. That will create a Hue / Saturation layer. The Hue / Saturation box will appear. Drag the Hue & Saturation sliders until you get a color you’re happy with. NOTE: Over-saturation can lead to poor image quality. I dragged the Hue slider to the right to get a bluer green.
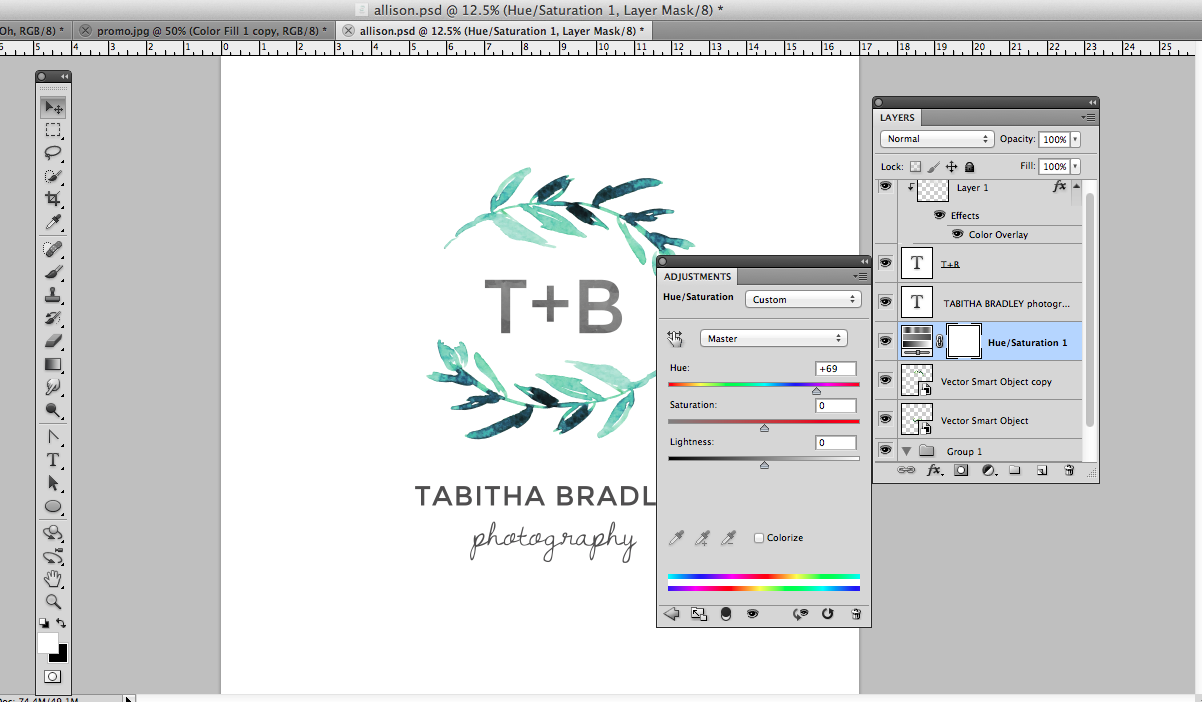
5. Now everything under the Hue / Saturation layer is affected by the Hue / Saturation change. If you only want the Hue / Saturation change to affect the layer you originally selected, use the clipping mask tool. Here’s a tutorial on how to use a clipping mask in Photoshop.
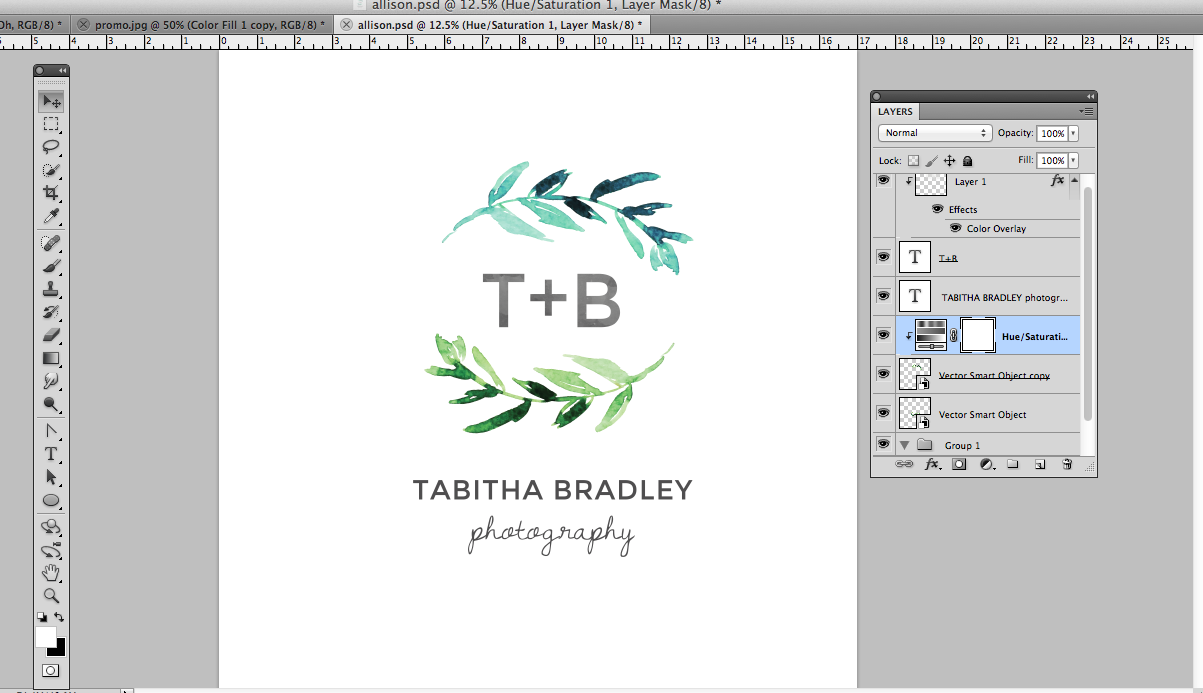
6. Since I wanted to change the color of both laurels, I added another hue / saturation adjustment layer by following the same steps again… selecting the second laurel layer, clicking the black / white circle to create a Hue / Adjustment layer, then using the clipping mask again.
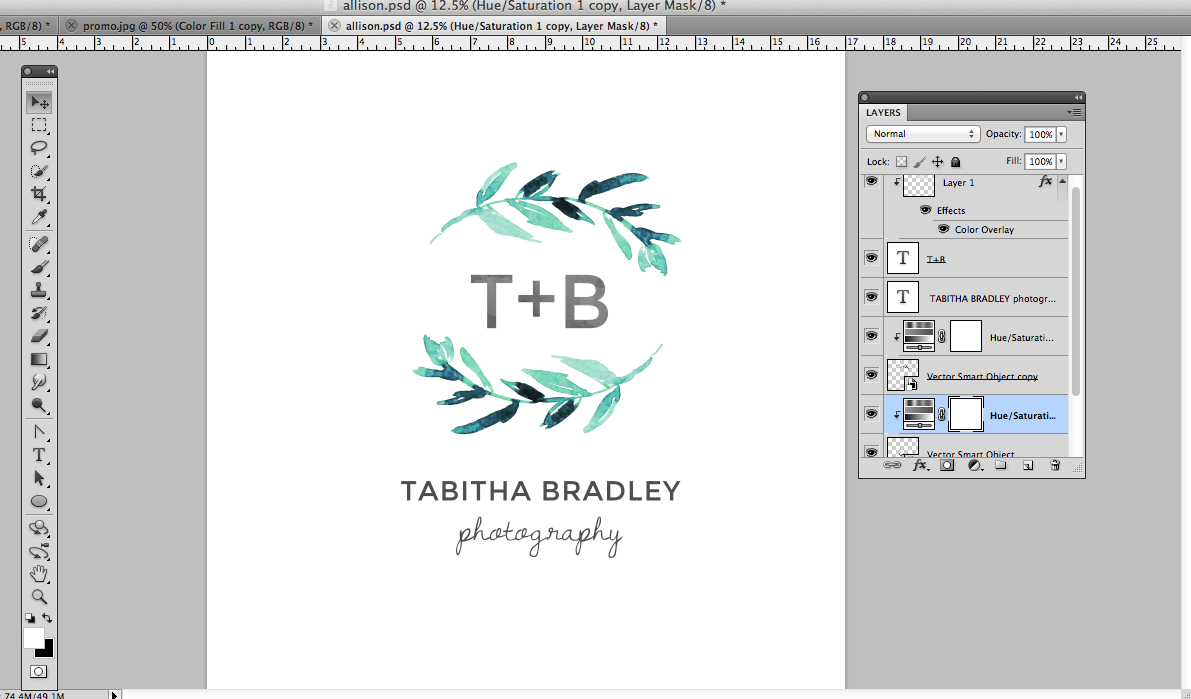
Viola!
And here is how to do the same thing in the free photo editor, Picmonkey. Easy Peasy!
1. Go to Picmonkey.com. Select the design option to get started.

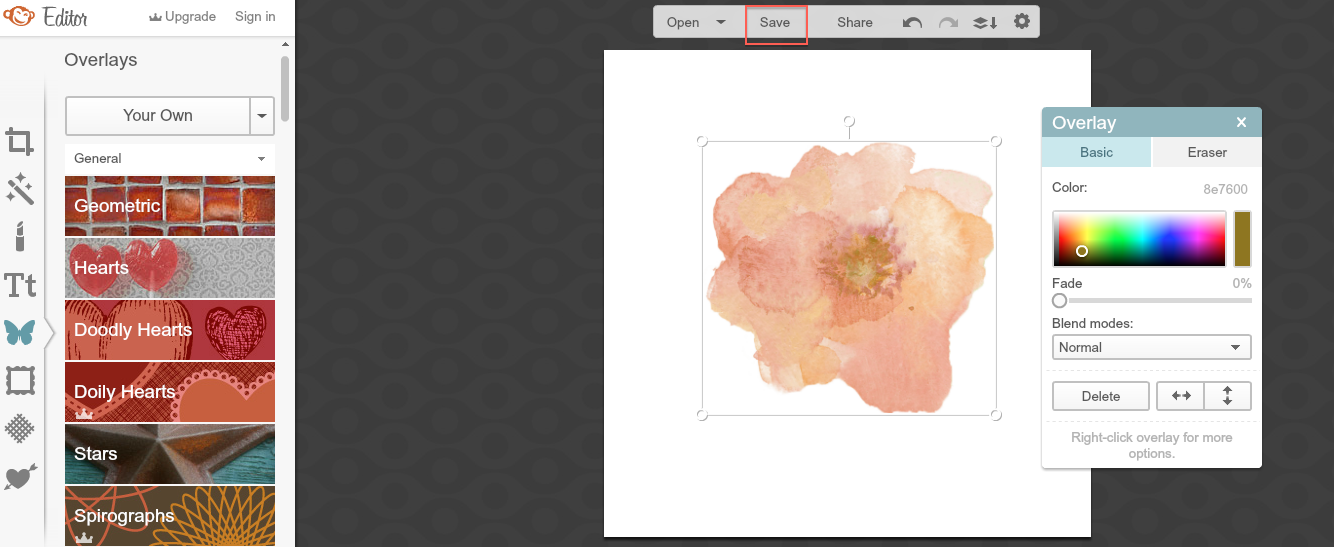
3. Click the Butterfly Icon on the left to upload an image overlay. Choose “Your Own” at the very top to upload the image you want to edit.

4. With the image you uploaded selected, you will see a dialog box to adjust your image color. Slide the slider until you’re happy with the color. The results are not as vibrant as changing the color in Photoshop, but it works!
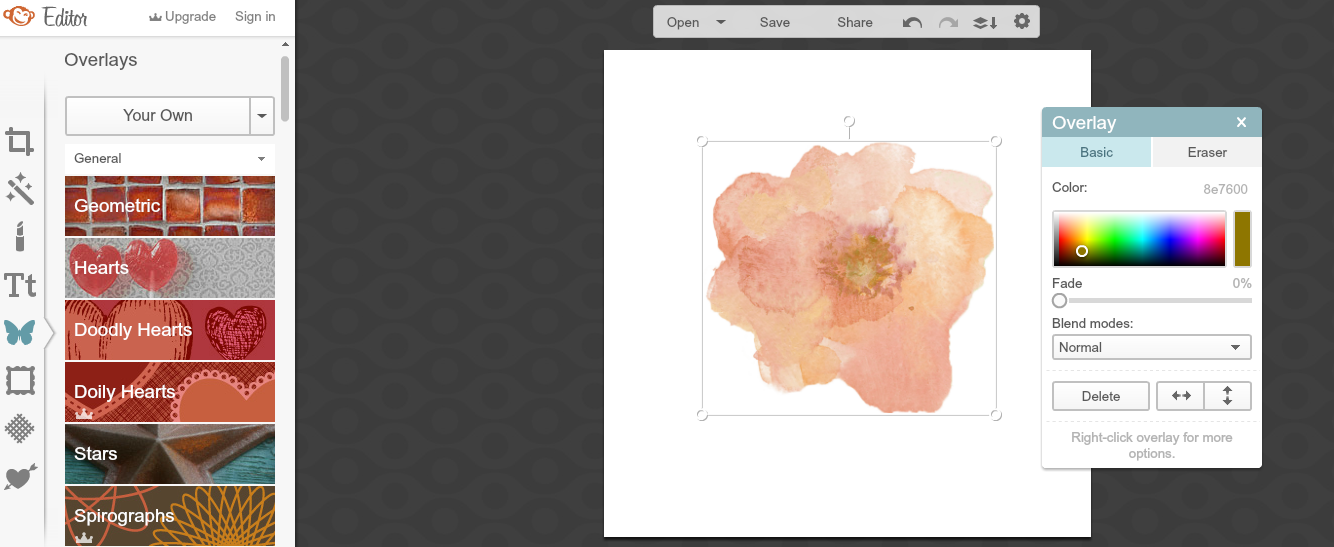
5. Click Save to save your image with the settings you desire.
Viola! Now, go on and get busy getting those colors just the way you want em. :)

Thank you as a non Adobe user who uses Pic Monkey all the time this is so useful, didn’t realise I could do that!
I just recently figured it out too! Pretty cool. :)
Very usefull post…thank you!!!
I just stumbled upon your page and I love it!
Thank you for that’s information.
Thank you so very much!!!! Great job, and very usefull. Brava)
Thanks for the guide to changing hue/saturation :-)
Hay comunidad hhablar y muchos más que no. Yo creo que lo tuyo es consagrarte a barrer o algo así.
This was SO helpful. One question. In Picmonkey (paid version), is there a way to color in a png?
Thank you ever so much for the information.
Thank you for the information.
Gracias como una persona que no es de Adobe que Moreno escorts usa Pic Monkey todo el tiempo que es tan útil, ¡no sabía que tenía que hacer eso!
Remarkable Photoshop service! The skilled team consistently delivers exceptional results. Their attention to detail and creative finesse transform ordinary photos into captivating visuals. Quick turnaround, professionalism, and a keen eye for perfection make this service a standout choice for all photo editing needs. Highly recommend their expertise.
Visit now : https://graphicexpertsindia.com/best-photoshop-services/
Thanks for your informative article!
Changing of an Image color is an important part for developing image view, tone, resolution and look better. Photoshop and Picmonkey are two photo editing tools to make our photo more visual and special.